As a young boy, I often wandered into the kitchen with the hopes of creating delicious meals. Unfortunately, most of my kitchen experiments ended in disaster, and the dishes I prepared didn’t make it to my tummy, but rather down the commode. Being a child who knew nothing about cooking, I faced these challenges.
My mother held a conservative mindset, believing that boys shouldn’t enter the kitchen to cook. Whenever she caught me in there, she would scold and drag me out. Paradoxically, her disapproval only fueled my desire to cook.
You know how the human mind yearns to do things it’s told not to. So, despite her objections, I continued my secret kitchen experiments throughout my childhood, learning to cook through trial and error. Though I don’t consider myself a great cook, that title belongs to my mother, who, like every other boy, is my favorite cook.
Enough about my childhood struggles in the kitchen. Let’s look into how you can turn your leftover rice and yellow daal into a tantalizing dish. If you’re expecting an elaborate and fancy recipe, you’re mistaken. I’ll be sharing a simple yet tangy, savory, and spicy dish with a hint of fruitiness, representing a typical Indian delicacy known for its bold flavors.
Cooking Rule
I have a rule for cooking; if you don’t have all the ingredients, you shouldn’t start cooking. So before you begin, ensure you have all the necessary ingredients. If any of the ingredients mentioned in the recipe are missing, I advise against attempting the dish. Additionally, if you don’t appreciate spicy food bursting with flavors, this might not be the right dish for you. However, if you love Indian cuisine and enjoy spicy food, then I’m sure you will love this leftover dish.
Vegetarian and Vegan-Friendly Recipe
So, this recipe is all about Indian vegetarian cuisine, and it’s super easy to make. It can be a vegan-friendly dish, and for that, you just have to swap out the ghee for your favorite oil – think mustard oil or olive oil. Avoid strong-flavored oils like sesame seed or coconut oil; they might change the taste. But hey, feel free to get creative in your kitchen – you’re the chef there!
Now, let’s get cooking Dal-icious Leftover Dish
Here are the ingredients you’ll need for this dish:
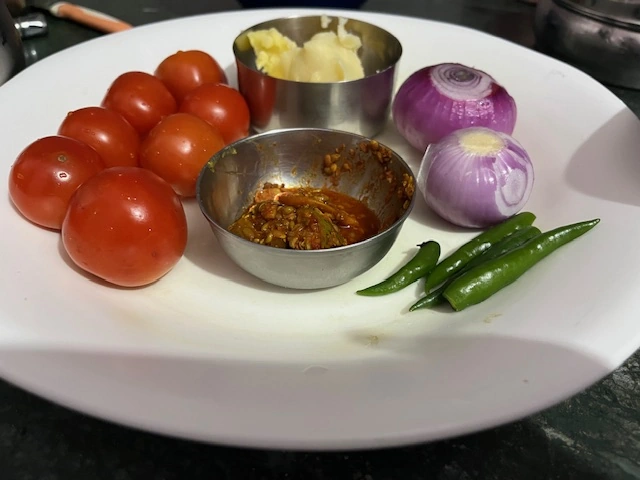
1. Mixed achar/Indian pickle
2. Desi Ghee or Oil
3. Red onions or Spanish Onions
4. Tomatoes
5. Green Chillies
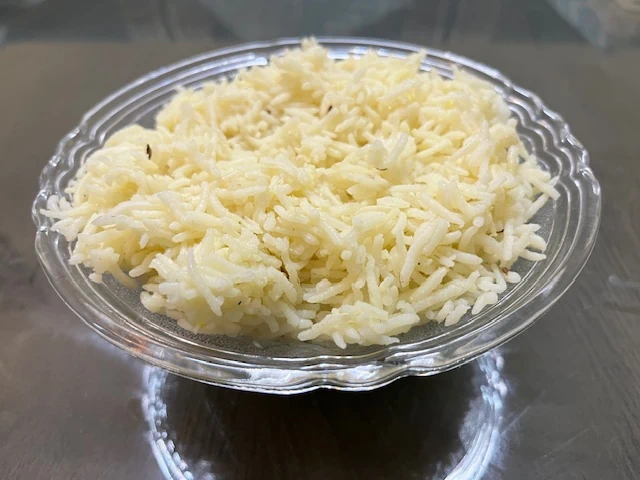
6. Leftover yellow rice
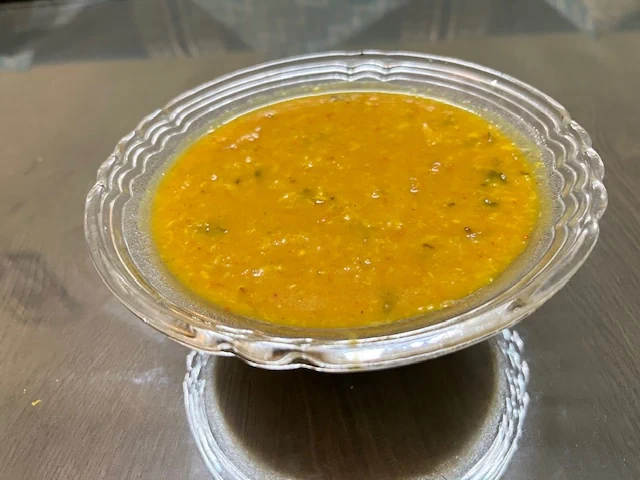
7. Leftover daal
8. Salt
Assuming you have all the required ingredients, let’s begin the cooking process.
Step 1: Chop and slice the ingredients
1
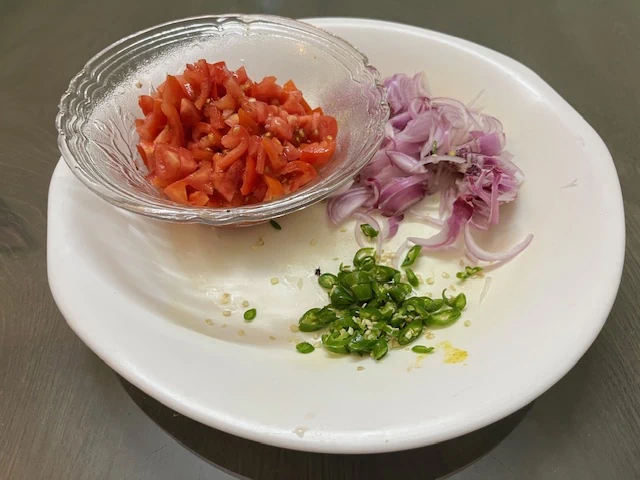
Take four medium-sized tomatoes, one large onion (or two medium-sized onions), and two green chilies. Ensure that you have a greater quantity of tomatoes than onions. Roughly chop the tomatoes, slice the onions, and finely chop the green chilies.
Since I did not have medium-sized tomatoes and large onions at home when I made the dish, I used 7 small tomatoes and 2 medium-sized onions. I prefer a 60-40 ratio of tomatoes to onions in my cooking.
Step 2: Heat up the pan/Wok/Kadai and start the cooking process
2
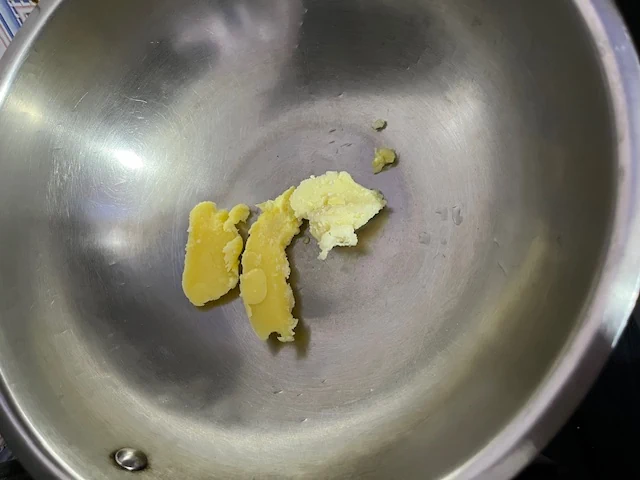
Choose a suitable cooking vessel such as a Kadai, wok, or deep-bottomed pan. Personally, I prefer Kadai. Add ghee to the vessel, the quantity depending on the amount of rice, tomatoes, and onions you’re using. If you’re preparing the dish with one large bowl of rice, 1-2 spoons of ghee should suffice.
Step 3: Add the chopped ingredients and prepare the masala for the dish
3
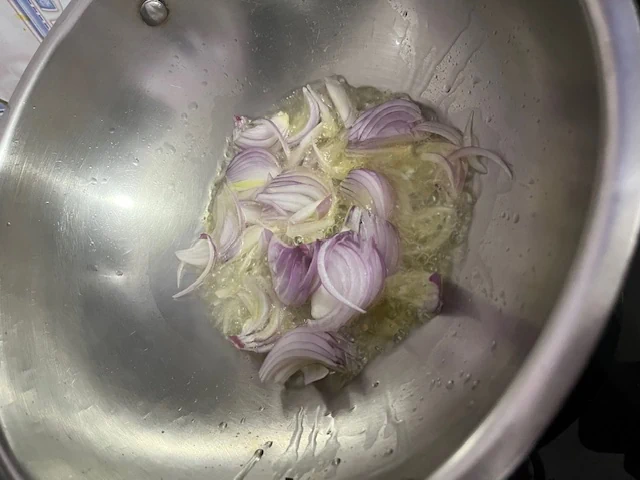
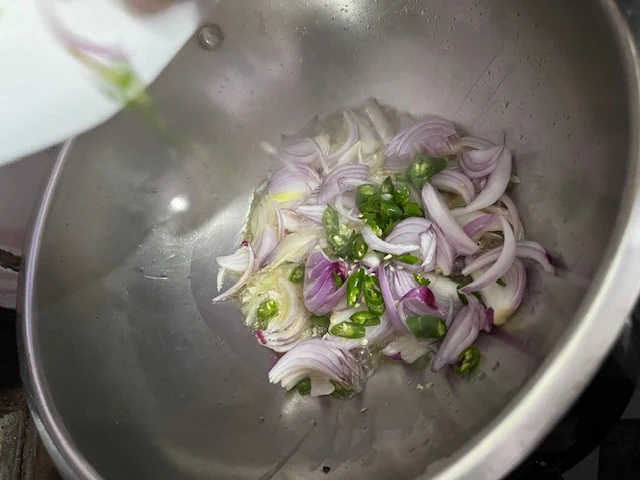
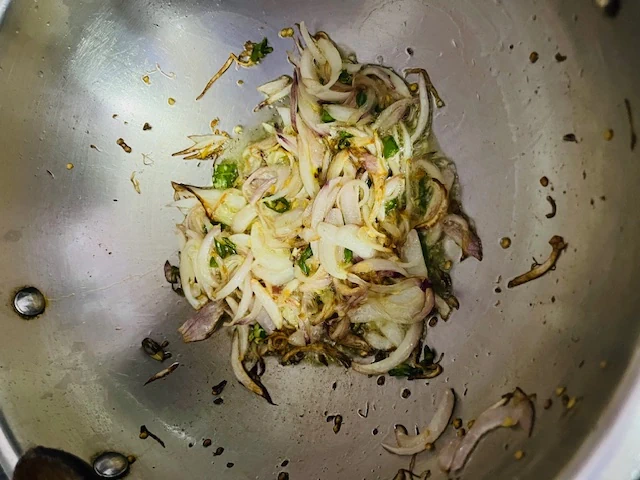
Once the ghee is hot, add the sliced onions and chopped green chilies to the pan.
4
5
6
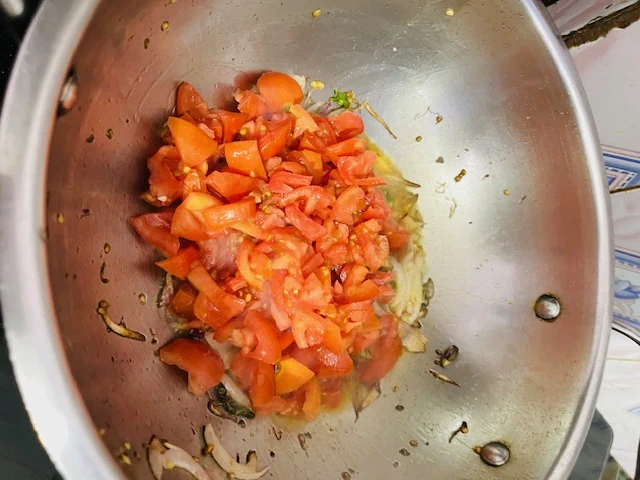
Stir to prevent sticking or burning. Once the onions turn golden brown, 50-60 % cooked introduce the chopped tomatoes to the mix.
7
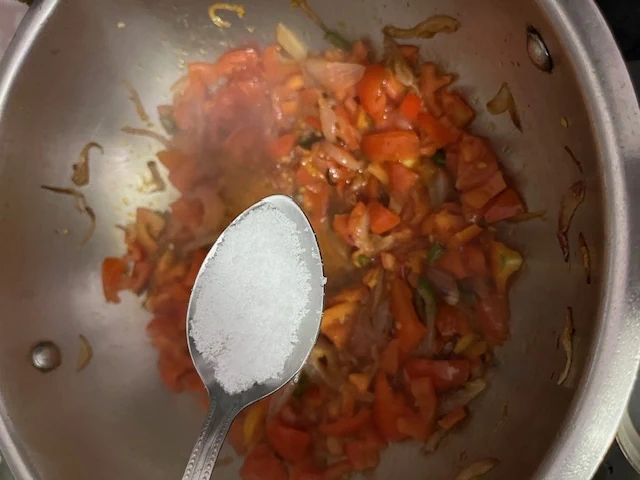
Sprinkle some salt, but be cautious as rice, daal, and achaar already contain salt. Cook this mixture over medium-high heat.
Step 4: Once the masala is cooked, add the rice, dal, and achaar
8
9
10
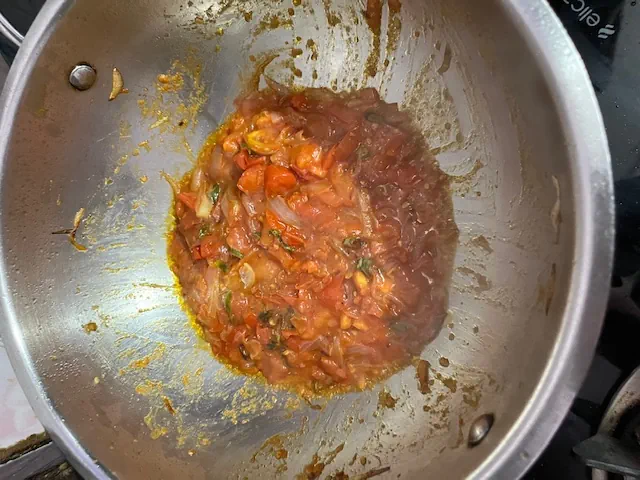
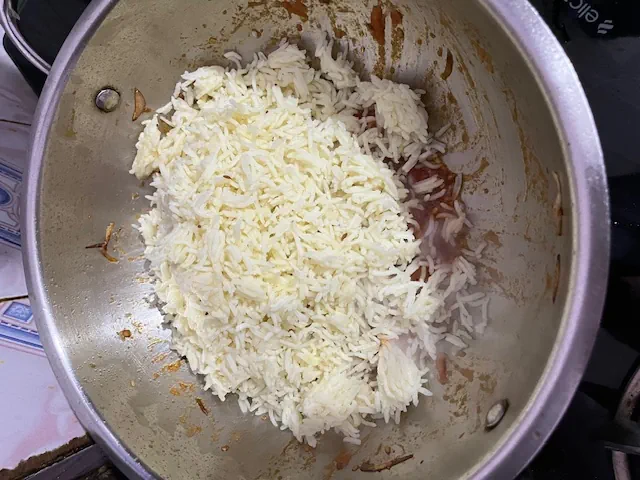
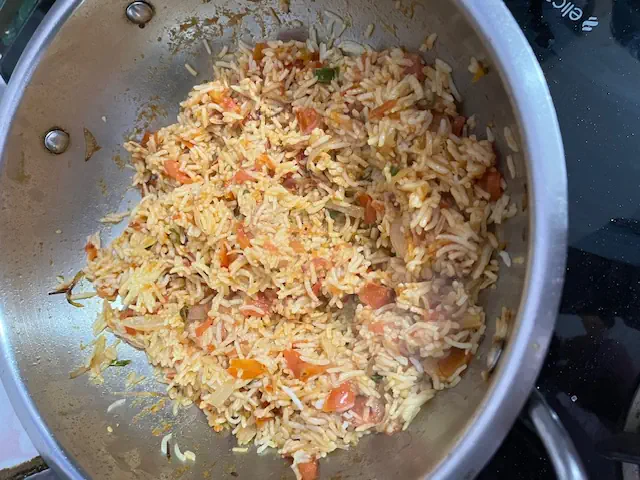
When the tomato and onion masala is about 70-80% cooked, add the rice to the pan and mix thoroughly.
11
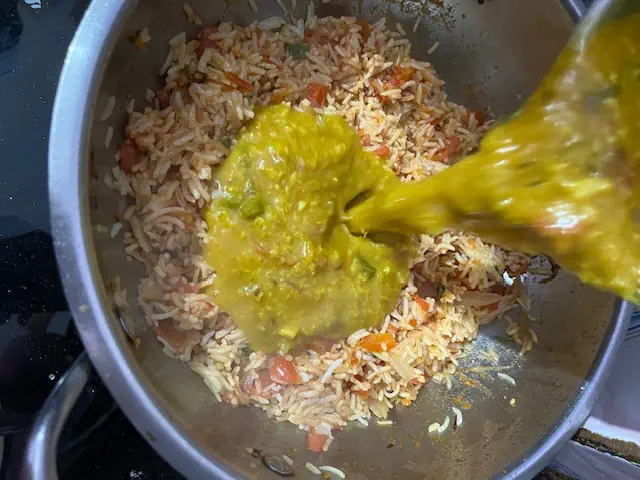
Once combined, add the daal. Be careful not to add too much daal to the rice.
Cook everything together for 1-2 minutes.
Step 5: Add the achaar/pickle to the pan/wok
12
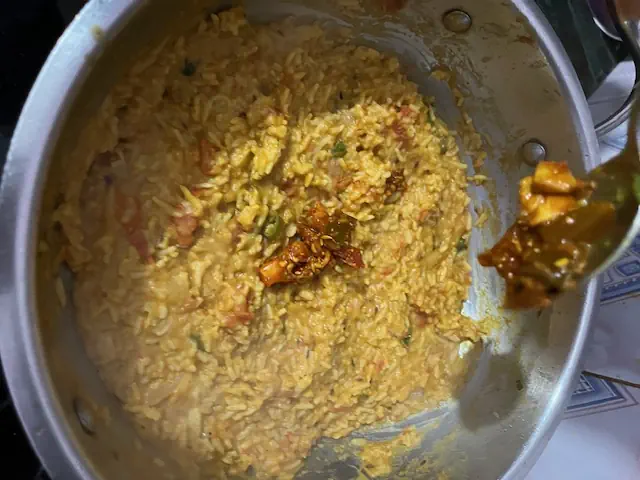
To enhance the flavors, incorporate a small amount of achaar or its masala into the rice. Be mindful not to add too much, as achaar can overpower the dish, leaving only its taste behind.
Step 6: Cook everything together until most of the moisture from the dal is evaporated
Allow all the ingredients to cook together. Reduce the heat and continue cooking until most of the water has evaporated. At this stage, the rice will start sticking to the pan. You must keep stirring the rice to prevent this from happening.
Once you notice that there isn’t much water left, turn off the gas or stove and cover the dish for 5-10 minutes.
Step 7: Add cilantro or coriander if you’d like
To add a final touch, garnish the dish with your favorite ingredient. You can use fresh coriander leaves, cilantro, or spring onions to enhance the presentation and aroma.
Step 8: Prepare the yogurt or curd for the finale
Now, let’s prepare a side dish to accompany your rice creation. What better choice than Raita? My personal favorites are boondi or cucumber Raita. It’s simple to make. Take a bowl of yogurt or curd, add grated cucumber or boondi, and incorporate half a tablespoon each of black salt, black pepper, and roasted cumin powder. Mix everything well, and your raita is ready to be enjoyed with your rice dish.
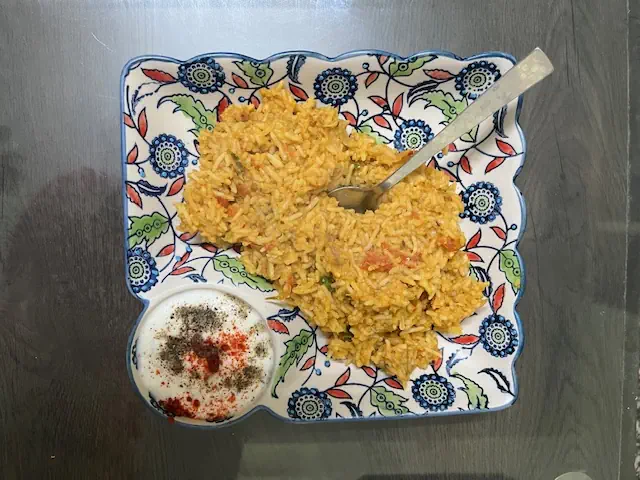
ENJOY 😋
Bon Appetit
Voila! You’ve successfully created a dish borne out of the trials and errors of this adventurous boy. If you enjoyed the flavors and experience, I encourage you to return to the blog and share your thoughts. Let us know what you loved most about the dish and your overall experience.
Remember, cooking is an art that we learn and refine over time. So, keep experimenting, exploring, and honing your culinary skills. Happy cooking!


